As an Amazon Associate, we earn from qualifying purchases. Some links on this site are affiliate links at no extra cost to you. Our recommendations are based on thorough research and editorial judgment.

Tooth Geometry: Understanding Rake, Fleam, and Gullet for Rip vs. Crosscut
Ever tried cutting wood and wondered why sometimes it just seems to drag? Tooth geometry’s like a secret code that can totally change your cutting game. Focus on rake, fleam, and gullet angles; understanding these can seriously improve your work.
You may be interested


The rake angle is where it all starts. It’s about how aggressive your saw cuts. For rip saws, a 0-degree rake is the way to go—this keeps it straight and effective. Meanwhile, if you’ve got a crosscut saw, bumping that rake up to 10-15 degrees will help slice through the wood smoother.
Now, let’s chat about fleam angles. This one impacts the quality of your cuts. A higher fleam angle translates to a slicker finish, which is something you definitely want if you’re aiming for quality work. Think about how nice it feels when you get that smooth edge; it makes a difference!
Gullet depth comes into play when it’s time to clear out sawdust. If you’re doing crosscuts, opt for deeper gullets. They’re better at managing that shavings mess, so you can keep your line of sight clear and work faster.
Feeling a bit lost on how to choose or set up your tooth geometry? You’re not alone! Experimenting with different angles and depths can help you find what works best for your projects. Just remember, it’s all about matching the tool to the task.
So, what’s the takeaway? Get to know your saw’s tooth geometry to make cutting easier and more effective. Have you had any memorable moments with your saw that made you rethink your approach?
Key Takeaways
- Rake angle affects cutting aggressiveness; rip saws use a 0-degree rake for along-the-grain cuts, while crosscut saws benefit from a 10-15 degree positive rake.
- Fleam angle is crucial for cut quality; higher fleam angles enhance finishes on softer woods, while lower angles are better for rip saws.
- Gullet depth prevents saw binding; deeper gullets are ideal for crosscut saws to manage sawdust, while shallower gullets suit rip saws.
- Customizing tooth geometry involves balancing rake and fleam angles according to wood type for optimal cutting performance and finish quality.
- Regular maintenance and sharpening of teeth height help avoid performance issues like “Big Tooth, Little Tooth Syndrome” for consistent cutting results.
Understanding Tooth Geometry: The Basics of Rake, Fleam, and Gullet

Have you ever struggled with your saw not cutting quite the way you expected? If so, it’s time to dive into tooth geometry. It may sound a bit technical at first, but it’s all about three simple angles: rake, fleam, and gullet.
Let’s break it down. The rake angle, which is at the front of the tooth, plays a huge role in how aggressively a saw cuts. A lower rake angle will give you a more aggressive cut, which is perfect for those rip saws that go along the grain. On the flip side, if you’re using a crosscut saw, those typically have higher rake angles to make slicing through the grain smoother. Honestly, knowing the right rake angle can save you a lot of headaches down the line.
Next up is the fleam angle, which refers to the angle across the tooth face. Higher fleam angles can improve cut quality, but here’s the catch: they can also weaken the tooth. So, when you’re picking your saw, think about the type of cuts you need to make and whether that’s a trade-off you’re willing to accept. Is it worth it for a nicer finish, or do you need sturdy teeth for rough work?
Now, let’s talk about the gullet. This is the space between the teeth, and it’s critical for removing sawdust effectively while cutting. A well-formed gullet helps speed up the cutting process and keeps the saw from binding. If your saw doesn’t have a good gullet design, you’ll probably find yourself struggling to keep it moving smoothly.
Understanding these angles means better cuts and a less frustrating time while sawing. So, the next time you’re shopping for a saw or tackling a project, keep rake, fleam, and gullet in mind. What kind of cuts are you planning to make? Are you ready to choose the right saw for the job? Additionally, maintaining the edges with proper sharpening tools can significantly improve your saw’s cutting efficiency.
Rake Angle Explained: Impact on Rip and Crosscut Saw Performance

When you’re working with saws, the rake angle can really make or break your cutting experiences. Let’s face it: getting the right angle is key if you want to slice through wood smoothly. For rip saws, sticking to a 0-degree rake angle lets you cut right along the grain, creating a clean slice every time. On the flip side, crosscut saws tend to work best with a positive rake somewhere between 10 to 15 degrees to effectively tackle the grain.
Now, this is where it gets interesting. By tweaking the rake angle, you can adapt to the wood’s hardness. Want an easier cut? Increase the rake. Need something more aggressive? Lower it. It’s that simple. But don’t overlook the importance of the tooth geometry, including the gullet and the overall tooth profile. These factors work together to boost your saw’s performance.
It’s worth your time to regularly check and adjust the rake angle. You might be surprised at how this small detail creates a big difference in your woodworking tasks. So, the next time you’re gearing up to saw some wood, ask yourself: how’s my rake angle looking? Adjusting it could be just the thing you need to improve your cuts! For maintaining sharpness and precision, consider using sharpening stones specifically suited for your tool’s edge geometry.
Recommended Products

High-Speed & Fast Sharpening--Without removing the chain, the chain saw sharpener can do the sharpening job in just a few minutes.A great replacement for a hand chain saw file/ sharpener.
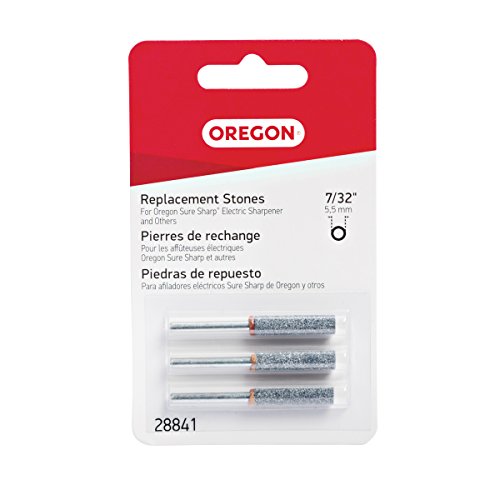
Includes three 7/32" (5.5 mm) replacement sharpening stones for Oregon Sure Sharp chainsaw chain sharpener
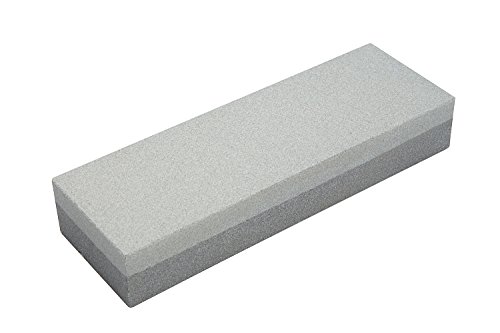
The Bora 6-inch aluminum oxide sharpening stone is a 2 sided stone: one coarse grit and one fine grit
The Role of Fleam in Tooth Geometry: Achieving Clean Cuts

Have you ever struggled to make a clean cut while woodworking? It can be so frustrating! Understanding fleam in your saw’s tooth geometry is key to getting those smooth cuts you want.
Fleam angles play a huge role, especially when you’re using crosscut saws. If you’re cutting softer woods, a higher fleam angle can give you those silky finishes. On the other hand, a lower fleam angle will leave you with a rougher cut, making the whole process more labor-intensive. For rip saws, minimal or zero fleam is the way to go since they chop through wood like a chisel.
Want to enhance your cut quality and efficiency? Consider adjusting the fleam based on the type of wood you’re working with. Different woods have varying hardness and grain patterns that impact how they cut. Regularly checking and fine-tuning the fleam can keep your saws performing at their best, no matter the project.
Truth is, it’s all about balancing that cleaner cut with tooth strength. So, next time you’re slicing through wood, think about your saw’s fleam. Are you set up for success? By taking the time to adjust, you’ll be saving yourself effort and getting better results in no time!
For woodworking, using tools with the correct cutting angle precision can significantly improve the quality and efficiency of your cuts.
Recommended Products

Made in Sheffield England

1-MAN LOG SAW - Tackle log-bucking duties solo with this 3-foot-long one man handsaw for wood. The screw-on auxiliary handle gives you the option for two-hand usage of this timber saw, with a slight rocker curve for smooth action.

Blade length: 250mm
Gullet Depth and Design: Key for Efficient Cutting
Have you ever struggled with a saw binding up mid-cut? It’s frustrating, right? One often overlooked aspect that can help prevent that is the saw’s gullet depth. This little detail makes a big difference in how effectively your saw cuts.
For crosscut saws, it’s crucial to have deeper gullets. They catch and hold sawdust, which helps keep your cuts smooth and prevents binding. If you’re using a rip saw, though, you won’t need as deep of gullets because you’re cutting along the grain.
Adjusting the gullet depth can even tweak the saw’s pitch. This means more teeth per inch, which can really boost your cutting efficiency. Here’s the trick: sloping gullets can improve how well the sawdust is cleared away, leading to cleaner cuts.
Also, keep in mind that consistency is key. A uniform gullet depth and design across all teeth can help you avoid something called “Big Tooth, Little Tooth Syndrome,” which can seriously mess up your saw’s performance.
Just like clamps require adjustable clamping range to fit various materials efficiently, a saw’s gullet depth must be properly tailored to the task for optimal cutting performance.
Recommended Products

Made in Sheffield England, comes complete with two wooden handles. Handle rivets do not need to be peened they are friction fit so you can take your handles on and off easily
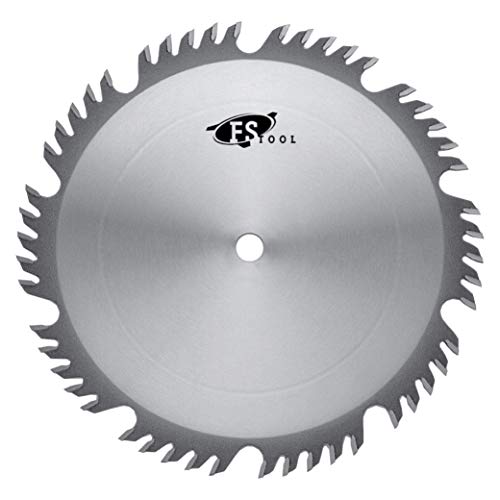
Four ATB teeth and one raker with deep gullets allow for deeper cuts and improved chip-flow

𝟏.𝟎𝐌𝐌 𝐑𝐈𝐆𝐈𝐃 𝐁𝐋𝐀𝐃𝐄: Substantially thicker design resists flexing and prevents wobbling. Ensures straighter, more controlled cuts on large logs and heavy lumber with less effort
Selecting Tooth Geometry: Best Practices for Different Woodworking Projects
Choosing the right saw for your woodworking project can feel like a daunting task, especially when you consider the nitty-gritty of gullet depth and tooth geometry. So, how do you make the best choice?
When it comes to rip saws, the sweet spot is often a negative rake angle paired with a 0-degree fleam angle. This combo is fantastic at slicing smoothly along the grain, particularly when working with hardwoods. It’s all about getting that clean cut without the fuss.
On the flip side, crosscut saws thrive on a positive rake angle and a higher fleam angle, typically around 10 to 15 degrees. This setup is what you want for cleaner cuts across the grain. You want to avoid those pesky tear-outs, right?
Think about jointing the teeth carefully with the gullet depth in mind, too. Too shallow, and you might struggle with chip clearance; too deep, and you could lose cutting efficiency. Honestly, if you’re tackling softer woods, a higher fleam angle often does the trick. But for hardwoods, going lower or even no fleam can be more beneficial.
Don’t hesitate to customize your tooth geometry based on the project at hand. It can make all the difference in how smoothly things go. What are you working on that requires a little extra attention to detail?
Additionally, using a guided sharpening system can help maintain precise tooth angles and ensure consistent cutting performance over time.
Recommended Products

EZ RAIL SYSTEM FOR MILLING - Helps make the cuts straight and even when milling logs. Does not come with chainsaw or mill. Designed to create a level pathway for straight, simple, clean cuts. Four cross members for added stability.
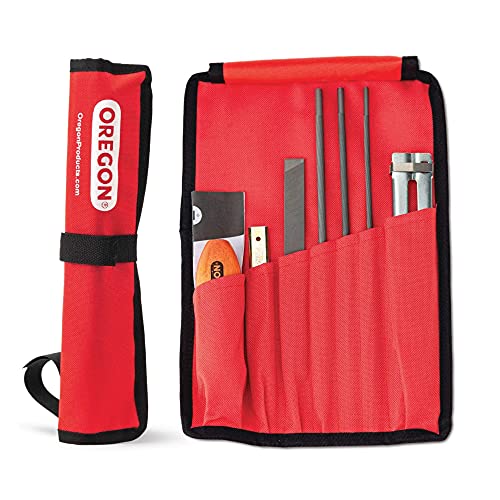
This portable universal chainsaw sharpening kit by Oregon makes it easy to keep your chainsaws, pole saws, and other tools sharp and ready to go

Simplified to support your backyard and garden projects and giving your go-to tools a new lease on life. The A679 Sharpening Kit includes everything you need to keep your favorite gardening tools looking sharp.
Identifying Common Cutting Issues: Rake, Fleam, and Gullet Corrections
When it comes to cutting wood efficiently, you’re bound to face a few common issues related to rake, fleam, and gullet characteristics. Have you ever noticed that if your rake angle is too low, you end up with an aggressive cut that can be a real pain, especially when dealing with softer woods? On the flip side, a higher rake angle makes things a bit easier to handle, but it could also slow you down.
Now, let’s talk about the fleam angle—it’s crucial for crosscut saws. A higher fleam angle gives you those smooth cuts you want, but there’s a trade-off with tooth strength. And don’t forget about gullet depth! Deeper gullets really shine at removing dust, which can prevent that annoying binding when you’re cutting. You should also pay attention to tooth heights; nobody wants to deal with “Big Tooth, Little Tooth Syndrome.”
Here’s the trick: regular reshaping with consistent filing techniques can boost your saw’s performance and lead to those clean cuts you’re after. Honestly, keeping these angles and depths in mind can make a huge difference in your wood-cutting experience.
Recommended Products

Includes one Chainsaw Sharpening Kit for filing chainsaw chains with a .325" Pixel Pitch, including the Husqvarna SP33G X-Cut chain

A heavy-duty, compact, and compartmentalized case which keeps everything in place and makes it easy to find the tool you need quickly.

ALL IN ONE KIT: - The 12-piece complete chainsaw sharpening file kit includes all the field tools you may need to bring your chainsaw back to its optimal condition. Even if you are a beginner, it's easy for you to learn how to sharpen your own saw. The orange pouch has high visibility and portability, you can sharpen anytime and anywhere
Expert Advice for Perfecting Your Saw Tooth Geometry
Have you ever struggled to get a clean cut with your saw? You’re not alone. The secret often lies in the tooth geometry of your saw blades.
When it comes to rake angle, rip saws work best with a 0-degree setting. This gives you that aggressive cut you want. On the flip side, if you’re using a crosscut saw, you’ll need a higher fleam angle. This modification smooths out your cuts and reduces splintering—trust me, it’s a game-changer for your wood projects.
And then there’s the gullet depth—don’t underestimate this little feature. Deeper gullets mean better dust clearance, which can really boost your cutting efficiency. So, what should you consider for peak performance? Think about the material you’re working with. For hardwoods, a crosscut saw with a high fleam angle is your best bet. But if straight cuts are your goal, stick with a rip saw that has minimal fleam.
Understanding these different aspects of saw teeth could really improve how you customize your tools for each project. The right adjustments can make a world of difference in your woodworking experience. Which saw will you choose for your next cut? Remember, pairing the right saw with well-maintained tools like those featuring ergonomic handles can significantly enhance your cutting precision and comfort.
Frequently Asked Questions
What Is the 3-Tooth Rule for Bandsaws?
We’ve found the 3-tooth rule for bandsaws emphasizes having three teeth engaged at once, ensuring ideal feed rates and stability. It helps prevent common cutting issues, enhancing our cutting performance with various blade types and configurations.
How to Tell Rip Saw Vs Cross Cut Teeth?
We can tell rip saws from crosscut saws by their tooth design and patterns. Rip saws have chisel-like teeth for cutting with the grain, while crosscut saws feature angled teeth for precision cutting across the grain.
What Is the Fleam Angle of a Crosscut Saw?
The fleam angle of a crosscut saw typically ranges from 15 to 30 degrees. This angle measurement enhances cutting efficiency through tooth geometry, greatly impacting performance factors in our woodworking tools and cutting techniques. Regular maintenance’s key!
What Is the Difference Between a Rip Cut and a Cross Cut?
“Don’t judge a book by its cover.” For woodworking, rip cuts run with the grain using a rip saw’s robust teeth, while crosscuts slice against it, requiring precise design for ideal efficiency and finish. Selection matters!


